Learning to Paint in Oils – Part 3
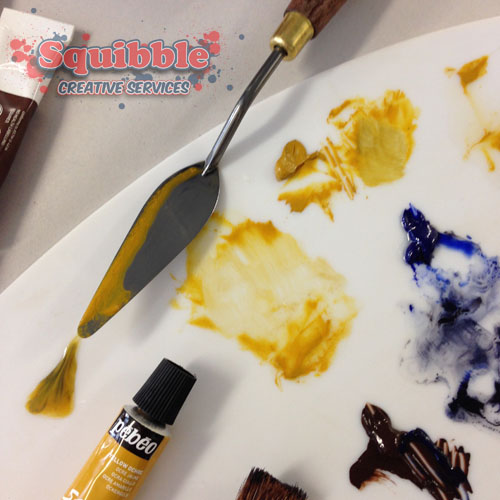
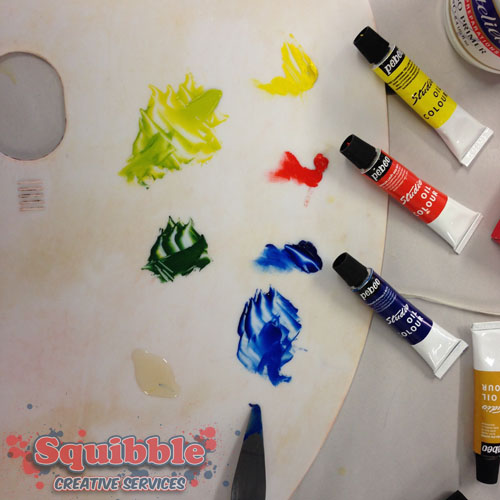
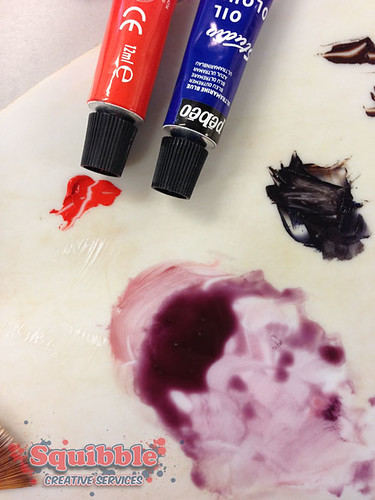
This post is a little later than expected, but here are the results of my last painting class with notes! My teacher showed me how to mix the glazes at each stage as I am still learning how to mix colours. When she realised I was taking photos so I wouldn’t forget the steps, she very kindly offered to lay out the tubes next to the palette for each photo!
Still Life
Step 1:
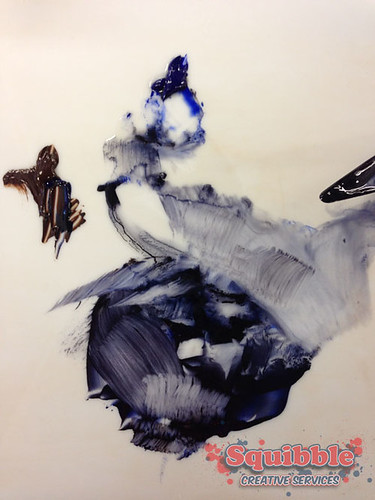
Make a dark blue glaze to layer over the top of my painting from the week before.
Step 2:
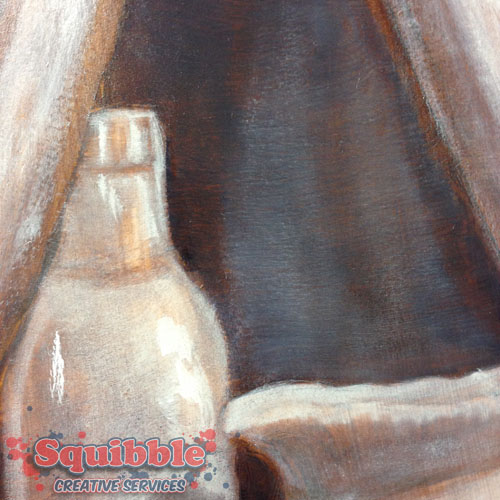
Paint over shadowed areas in painting with the blue glaze for more depth, the recess behind the curtains, also cast shadows.
Step 3:
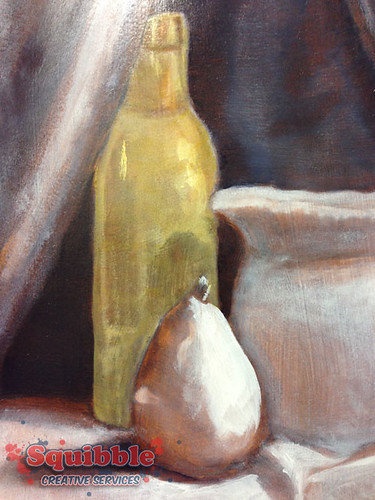
Mix a yellow coloured glaze to paint over the ceramic bottle.
Step 4:
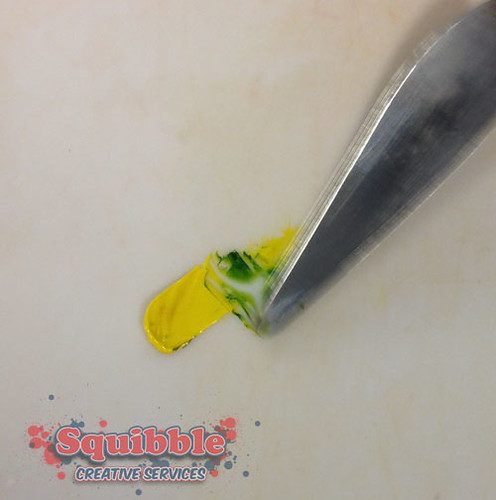
Mix vivid green and red glazes for the apple. It only took a tiny amount of blue added to the yellow to make a nice bright green.
Step 5:
Create a pinky glaze for the material in front of the objects, and also for the curtains.
The Finished Painting
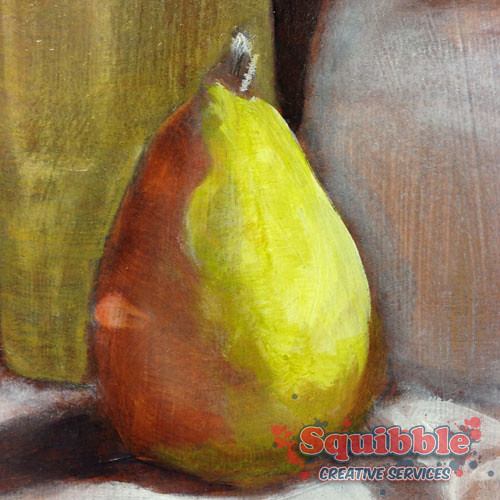
Finishing the Pear:
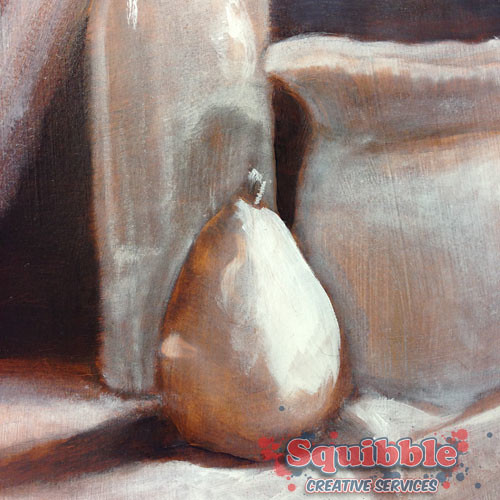
I had some extra time at the end of the class so I quickly added colour to the little pear painting I started the week before.
Notes:
- Transparent colours will always look darker in the tube.
- If you mix two transparent colours together they will always produce a darker colour – as a glaze.
- If you make a glaze with a non-transparent colour, it is called a scumble. Scumble glazes will always be cloudy and not truly transparent.
- Cheap imitation cadmium is good for glazing.
Materials Used
- Basic pebeo student oil paints
- Winsor & Newton liquin
- basic brush set suitable for acrylic and oils
